Module 8 Trapping
Trapping involves the use of mechanical devices that capture animals without the trapper being present. Trapping is one of the most common and effective methods that landowners use for managing wildlife damage because traps are time savers. Traps work even when you are not present.
Objectives
- List the different types of cage and box traps.
- Identify the parts of a cage and box trap.
- Describe different sets used to capture animals.
- Explain principles and techniques used to reduce capture of non-target animals.
Definitions
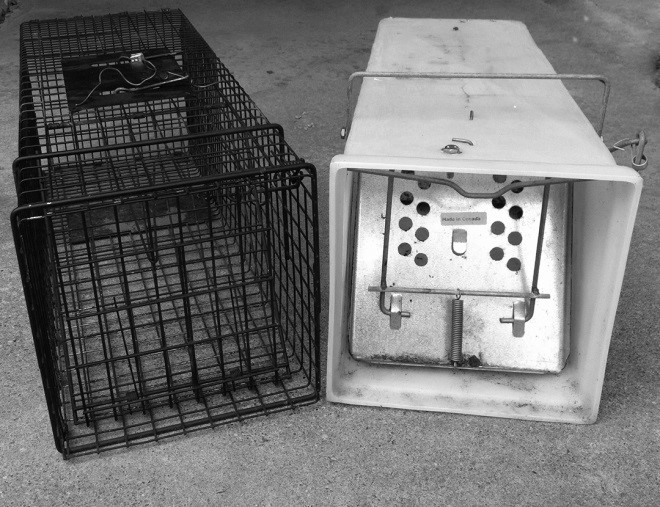
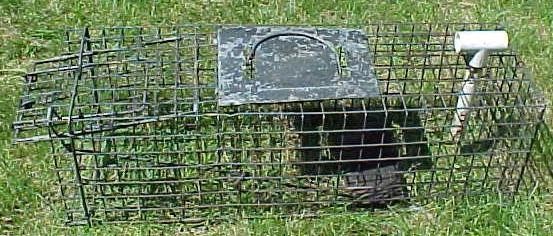
In Module 5, Wildlife Control Methods, we reviewed the methods available to control wildlife. In this module, we will focus on the use of cage and box traps to manage wildlife that cause conflicts. Many people use the term “live trap” to identify traps that capture animals by imprisonment in a box. We find the term “live trap” to be misleading, as well as inaccurate, because some traps that grasp parts of the animal’s body (e.g., footholds or cable-restraints), also capture animals alive. Instead, we prefer to use the terms cage traps and box traps to identify devices that capture animals by imprisoning them. Cage traps have walls made of wire mesh. Box traps have solid walls usually made of wood, plastic, or sheet metal (Figure 1).
Types of Cage & Box Traps
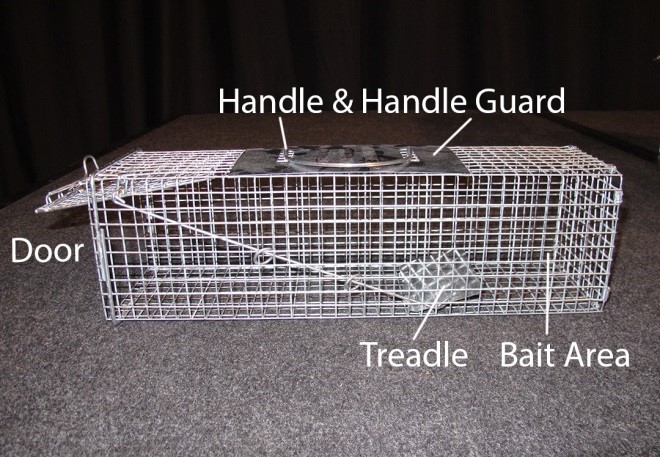
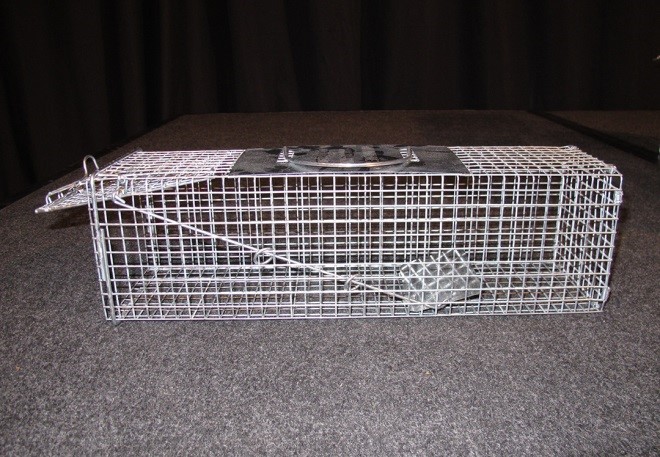
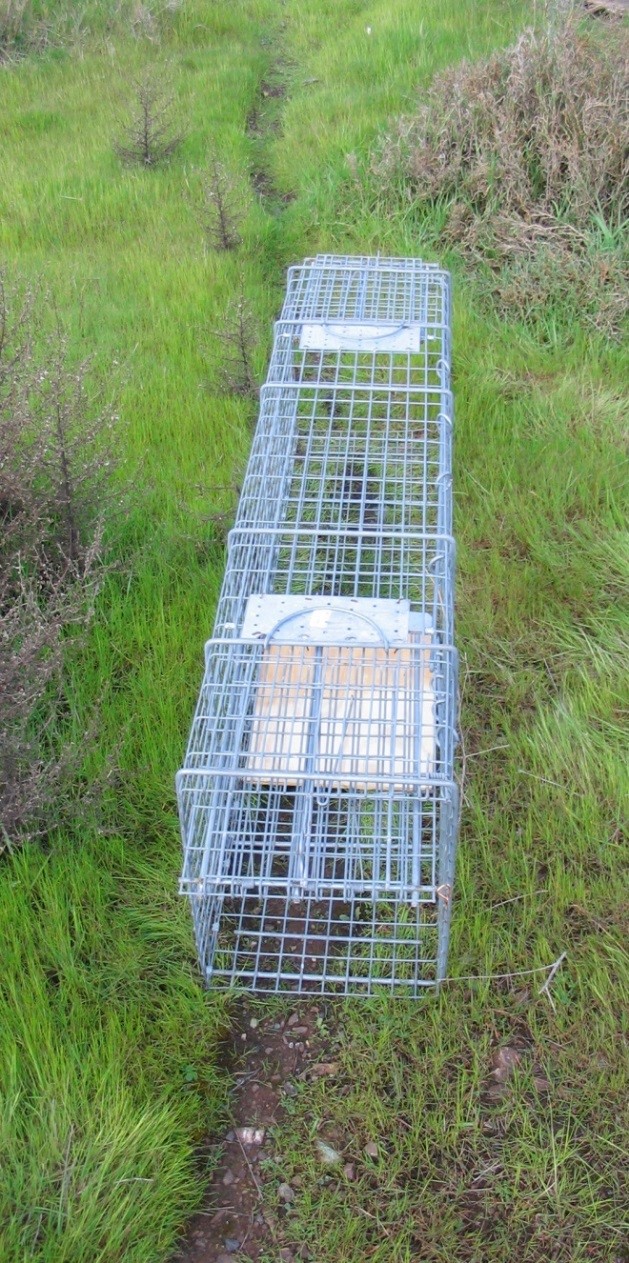
Manufacturers produce cage traps (Figure 2) and box traps with different features. This section will discuss a few of the more important ones.
- Gravity vs. spring-loaded doors. Gravity doors, as the name suggests, means that when the trap is sprung, the door falls due to gravitational force. Spring-loaded doors close with the aid of a spring. Spring-loaded doors require the trapper to manually depress the spring to open the door.
Each type of door has advantages and disadvantages. Gravity-door traps tend to be less expensive and don’t have springs that can wear out. Non-target animals can be released easily by gently rolling the trap over on its top. The disadvantage is that animals sometimes roll the trap over and escape when the door opens. Spring-loaded doors allow fewer escapes because the door can’t open if the trap is rolled over, and the door will close even when the trap is not on level ground.
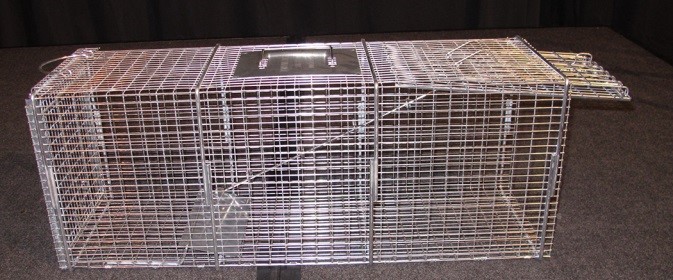
- Single-door or two-door traps. Single-door traps are the most common type of cage and box trap. Bait is placed on one end and the animal must enter the other end to reach the bait. A two-door trap has an opening on both ends, giving the appearance of a tunnel to an animal.
Traps for Homeowners vs. Professionals
Manufacturers produce cage traps for homeowners (retail-grade) as well as professionals, such as wildlife control operators (WCOs). Although the traps may appear the same, closer inspection reveals they can be quite different. In general, retail-grade traps have thinner-gauge metal and wider mesh (i.e., 1- x 1- inch; Figure 3a). They may not have handle guards. Professional traps typically are made with 1- x ½-inch mesh for much of the cage (Figure 3b). The benefit of using traps with narrower mesh is that captured animals are less likely to tear up turf or damage items nearby. In addition, it is harder for them to scratch you as you carry the cage. Handles are positioned to keep the cage in balance, and the guards are large enough to protect your hands. Both versions are effective in capturing animals.
Effective Use of Traps
The apparent simplicity of cage and box trapping is deceiving. While setting cage or box traps does not require a college degree, effective trapping involves attention to details for improving capture success.
Step 1. Safety first
Always wear protective work gloves when handling traps. Gloves help protect you from cuts from sharp edges on the metal, as well as any contaminated material that may be adhering to the trap.
Step 2. Know how to handle a trapped animal BEFORE you set a trap
People often capture animals without a plan for handling them. This is particularly true for people who accidentally capture a skunk.
Step 3. Know the target animal
The target species determines the size and type of trap needed. As a general rule, use the smallest trap necessary to capture the target animal. Smaller traps help you avoid captures of non-targets because smaller sizes make it hard for larger animals to enter.
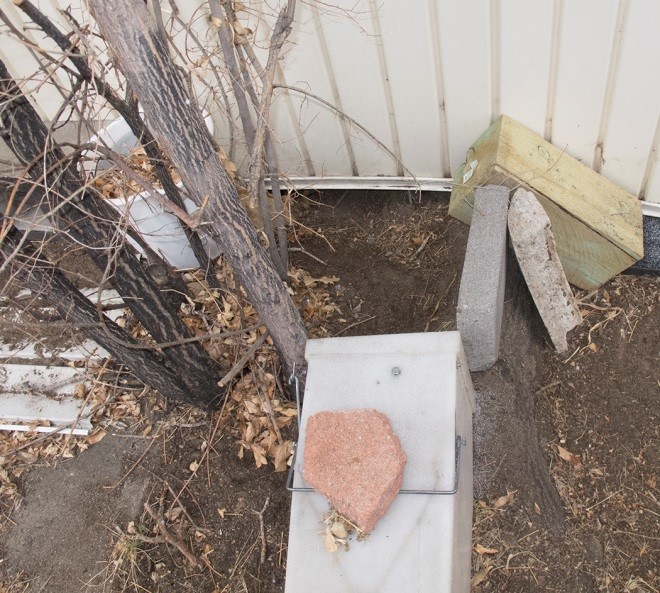
Step 4. Choose a good location
Place the trap so that the target animal can reach it easily. Place traps at least 12 inches away from sensitive items to prevent trapped animals from damaging personal property (Figure 4).
Step 5. Set the trap so it does not wobble
Even though the ground may look level, it often has bumps and depressions that can cause a trap to wobble as the animal steps on the trap floor. Wobbly traps are empty traps. To ensure the trap is stabilized properly, scrape the soil to level it. Press down on various areas of the trap to see if it will tip.

Step 6. Select the right set, and monitor traps on a daily basis
Sets are discussed later in this module. Traps must be checked every day regardless of weather or holiday status. If you can’t check the traps daily, either close the traps, or secure the doors so that they cannot close. If practical, check traps in the morning and evening so that animals will be in the trap for less time.
Step 7. Use plenty of traps
Setting one trap can be effective; however, this is like hunting with one bullet. We recommend setting three traps when trying to capture animals squirrel-sized and larger. Use more when trying to capture smaller animals.
Trapping Sets
A set encompasses the use of the trap and its entire placement. Sets are categorized as baited, blind, and positive.
Baited sets are the most common, and they rely on a lure or bait to attract an animal into the trap. Use bait that selectively attracts the target species.
Trappers usually exploit an animal’s sense of smell. Bait a trap so that the odors of the food or lure have an opportunity to disperse into the air. One method uses a forked stick. Scoop out some of the bait from its container with the stem of the stick. Insert the stem towards the back half of the bait area of the cage trap, so that the forks grab onto the trap mesh, and allow the stem to dangle. Make sure that the stick will not move much in the wind. Failure to consider this may allow the animal to grab the bait without getting close enough to depress the treadle. With this method, the bait has very high exposure to air, while keeping bait off the ground and away from ants.
An alternative bait stick consists of a T-shaped plastic (PVC) pipe with holes in it (Figure 5). The PVC pipe is long-lasting and will not be thrown off center when you cover the cage with a cloth. To use the PVC bait stick with liquid bait, attach a cap to the end of the PVC pipe. The location of the first drilled hole will determine the amount of liquid bait held. Push the end-cap on without using glue to allow the liquid bait to seep out slowly, permeating the area with attractant.
Liquid bait can also be held in a 2-inch PVC pipe (Figure 6.) Seal the bottom opening with an end cap and use a screw cap for the top. Drill holes in the upper portion so that odors can escape.
Another way to bait a cage trap is by using trapper’s wire and cotton balls. This technique is useful for liquid-based baits and lures because cotton absorbs the liquid. Skewer six cotton balls with wire and bend the wire so they will not slide off. Make a loop in the other end to hang the wire from the cage. Hang the bait wire toward the back half of the bait area. As with any hanging method, make sure that the wire will not move much in the wind. Otherwise an animal may grab the bait without getting close enough to depress the treadle.

In situations where hanging bait is not possible or practical, use eye appeal. One WCO uses Chef Boyardee® microwave lunch buckets to trap raccoons. The small white plastic bowls have lids with holes. Bait is placed in the bowl and covered with the lid. The white bowl attracts the raccoon, the holes allow the odor to disperse through the air, and the lid helps protect the bait from getting washed out by rain. Yogurt containers with holes cut in the lids also work. Ensure that baited containers weigh enough to prevent them from being blown over by the wind. Add small rocks to a container to keep it in place. Sight attractants are especially important for skunks or raccoons. Place marshmallows in the back of a trap to attract them in the dark.
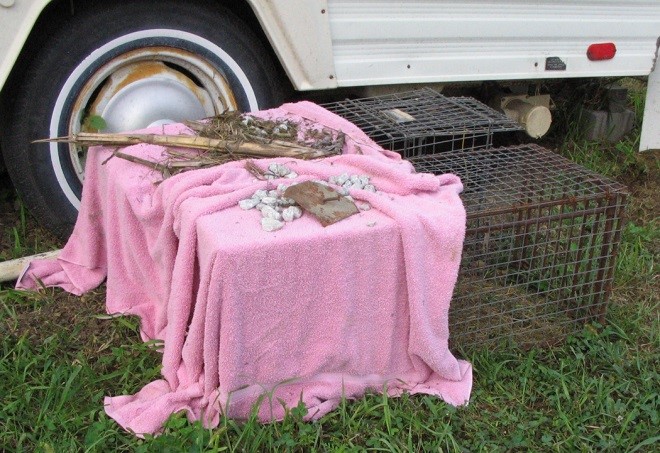
Blind sets rely on the movement of the animal to trigger the trap, and no bait is used. A two-door trap set in an animal’s trail is a classic example of a blind set (Figure 7).
Advantages of this type of set include no bait to maintain or that might be refused by the animal, and the set only captures animals using the trail or path. The disadvantage is that these traps are larger and tend to be more expensive than single-door traps.
Positive sets refer to traps placed over or in front of an entrance hole, and barricaded to funnel the animals(s) into the trap (Figure 8). Positive sets catch only problem animals as only animals exiting the hole can be captured. Positive sets are used to remove animals from under sheds, decks, or in den holes.
Humane Trapping
Many people mistakenly think that cage and box traps automatically are humane. The fact is that humane trapping involves not only the device, but also the skill of the trapper. Foothold traps used by an experienced trapper can be more humane than a cage trap used by an inexperienced landowner.
A few simple steps can significantly improve the welfare of animals in cage and box traps. First, consider weather conditions and reduce the animal’s exposure to temperature and weather extremes. For example, cover half the length of a cage trap to provide an area where a caged animal can obtain shelter from wind, rain, sun, and prying eyes (Figure 9).
Plastic box traps keep animals up to 12°F warmer than comparable cage traps. While plastic traps provide greater warmth for animals in the winter, they may get too hot for animals in the summer. Likewise, cage traps may be too cold in the winter, but may be a better choice in the warmer months. Consider how wind, snow, rain, and sun will affect the trapped animal and try to minimize those impacts.
Second, check traps frequently. As stated earlier, traps must be checked daily. If possible, check traps twice a day (morning and evening) to reduce the length of time an animal is in the trap.
Third, use selective trapping techniques to reduce the likelihood of capturing non-target animals. Use as many of the approaches listed below as are practical.
- Use the smallest trap possible to catch the target animal.
- Locate traps where target animals are traveling.
- Use baits and lures that are less attractive to non-targets. For example, sweet baits such as molasses and sugar wafers are less attractive to house cats, but are desirable to raccoons.
- Close traps during the day when trapping nocturnal animals, and at dusk when trapping diurnal animals.
Trapping has an important place when using IPM in wildlife damage management. Diligence in selecting a location, setting, and monitoring traps will ensure not only success but also the humane treatment of captured animals.
Module 9 addresses what to do with animals that have been trapped. Some states (e.g., New York), do not allow landowners to move problem wildlife from their property. A WCO license or state permit may be required for live transport of wildlife.
Questions for Reflection
- Why is it important to understand the different types of cage and box traps?
- Why is it inaccurate to use the term live trap to refer only to cage and box traps?
- What does it mean to trap humanely?
- Why is proper baiting technique important when using cage and box traps?
- List a few aspects involved in setting cage and box traps properly.